Early Spring Arrangement Tutorial | Spokane Florist
When I wandered my garden to choose my bouquet ingredients, these lovely, buttery daffodils caught my eye and I knew that I wanted them to be the star. The next step was to decide on my color palette. I chose to use two shades that were opposite of each other on the color wheel; plum and yellow.
opposites on the color wheel…
PLUM AND YELLOW
Once my colors were decided, it was time to explore the possibilities of what to add to my daffodils and hellebores that would fit with the chosen palette. I knew I needed some branches and foliage for structure and felt that the deep, rich colors in the buds and the stems of my ornamental plum went perfectly (the light pink blossoms become a sort of neutral instead of an additional color). Then I spotted my scraggy, old maple (literally grew as a neglected weed on the curb the last five years) and while it’s not something that I would normally cut from, the bright-yellow-pollen-filled-blooms and the deep burgundy leaf buds about to unfurl struck me as a playful addition to my bouquet. I plucked out some soft white muscari simply to add a new texture and a bit of contrast against the dark plum tones. Lastly, I grabbed some standard yellow tulips and a couple clusters of primrose to add more yellow to the mix.
When they were all together in my “picking” bucket, they made a lovely assortment of shape and texture and were all in harmony with my selected colors. BUUUUTTT…..they weren’t meant to be once I started arranging. That happens frequently, and it’s OK! Don’t be afraid to EDIT your flowers as you go or even once you’re all the way finished with your creation. Sometimes, something just doesn’t fit and sometimes, you can’t put your finger on why. In this case however, the tulips were competing with the daffodils on size and therefore the weight they held in the arrangement and because they were just standard tulips, didn’t add anything in the way of texture…they were just flat moments of yellow. The primroses didn’t work for two reasons; firstly, the orange centers were far more distracting and out or sync with the palette than I anticipated and the short stems didn’t allow for a good distribution of them throughout such a tall arrangement. So, out went the primrose and the tulips. What I was left with was a simplified, cohesive and relatively small list of ingredients.
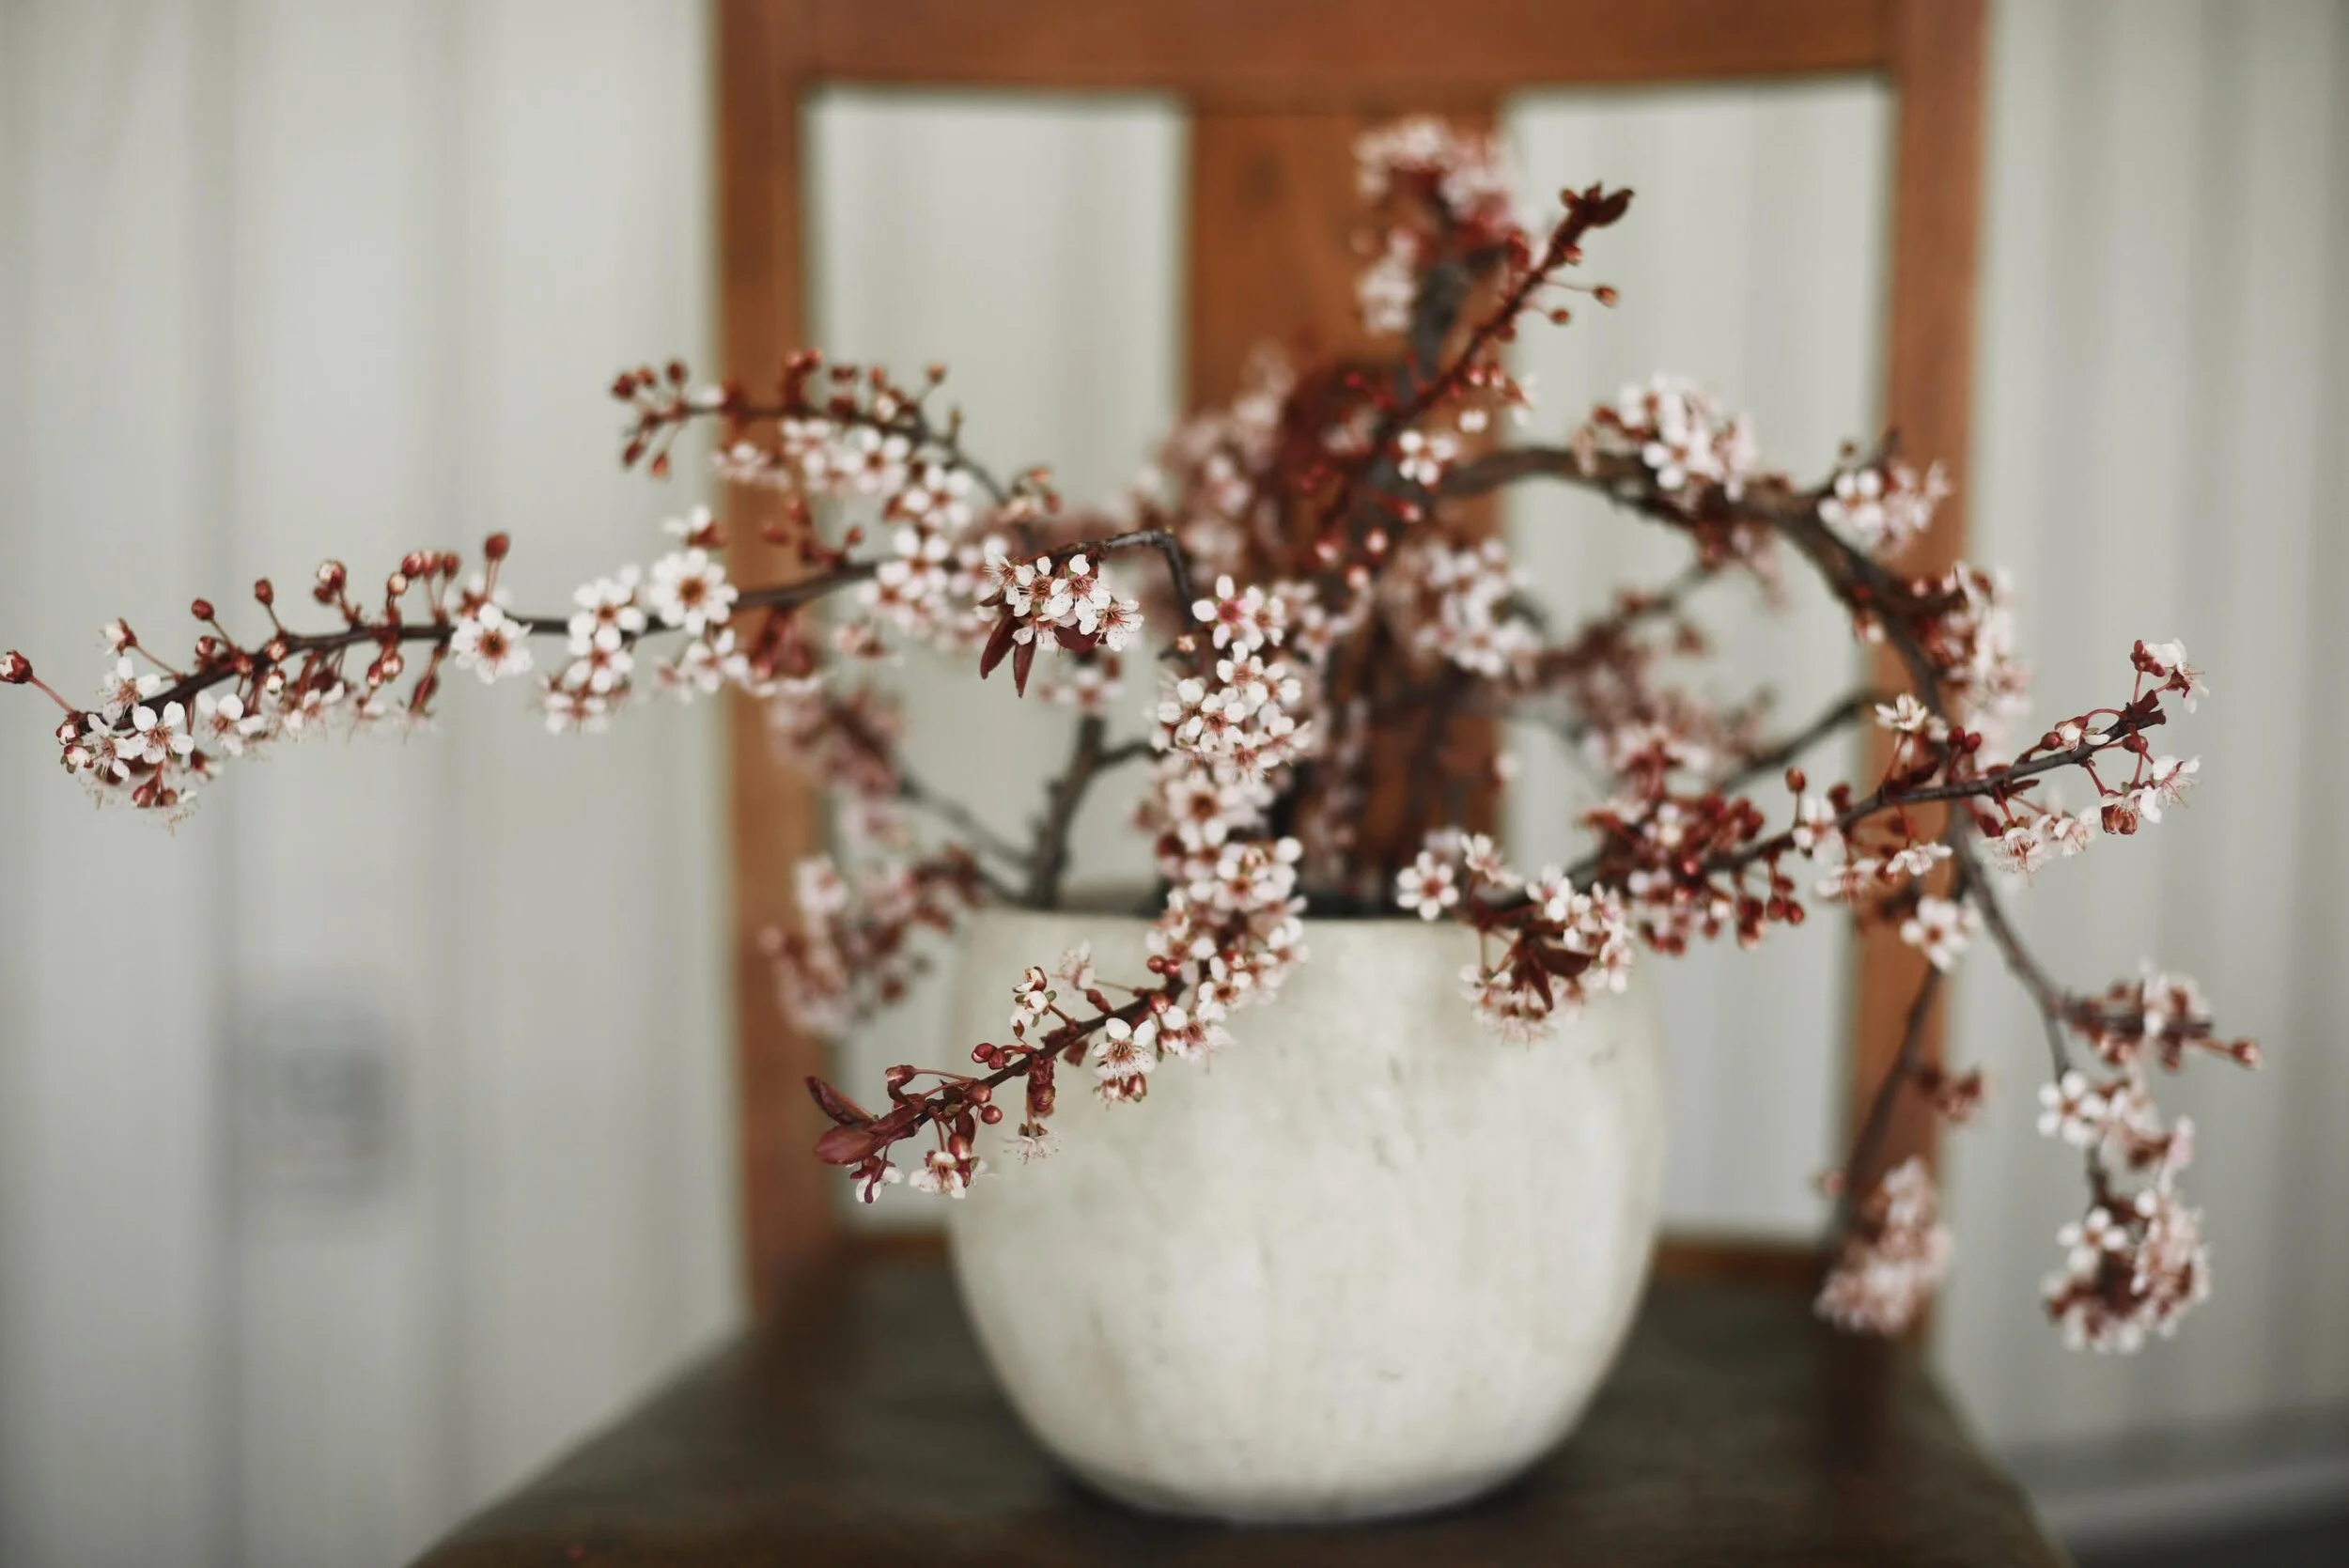
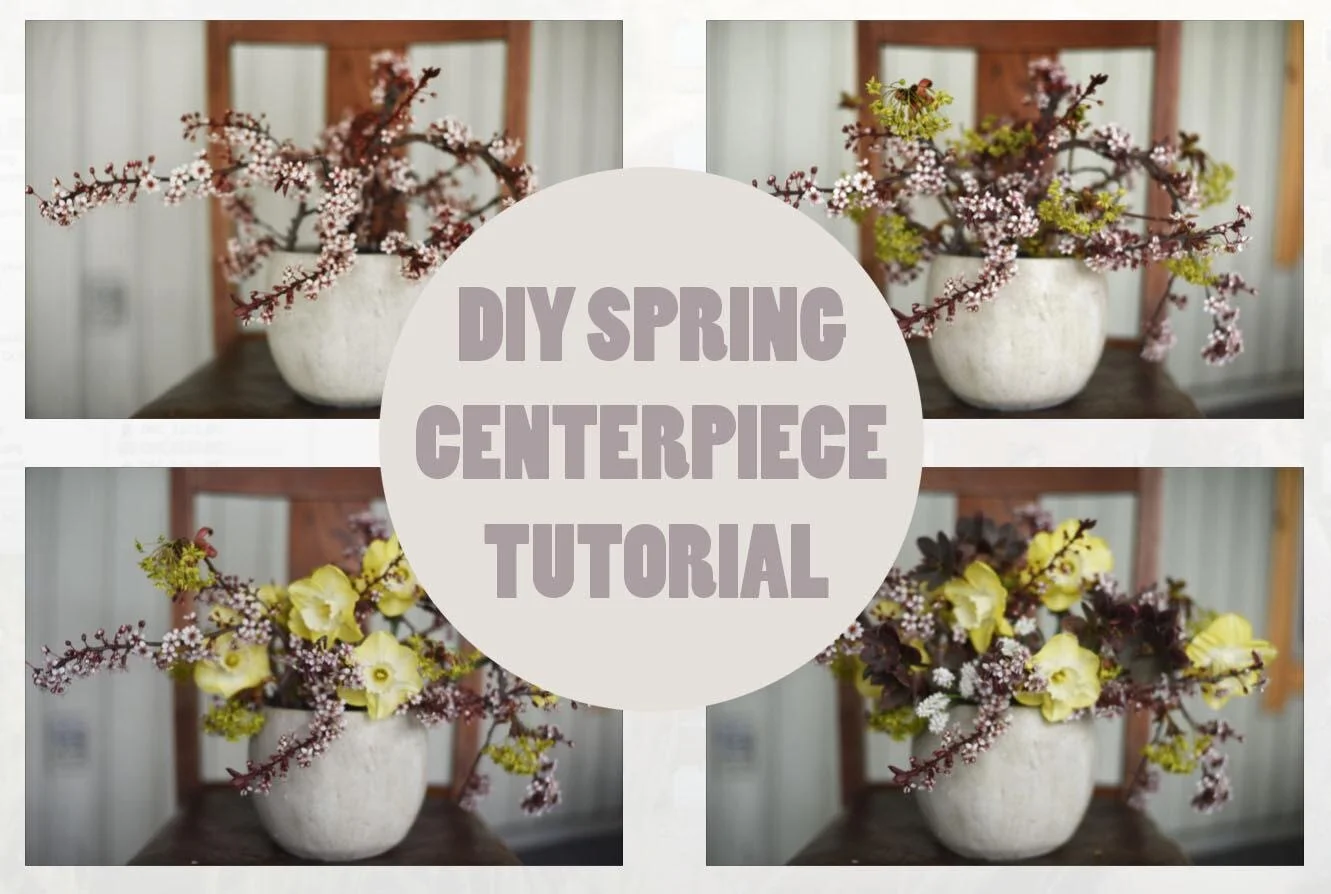
Step One. Create the overall shape of your arrangement by using your branches. I always like to create asymmetry throughout my bouquets and that starts with this foundational step. Also…I liked the simplicity of these branches so much that I almost stopped here.
Step Two. Add in the maple branches while sticking mostly to the shape you originally started. You certainly don’t need two different branches for any sort of structural purpose, it just so happened that my second ingredient was a branch. It could be any sort of “filler” however. Think of less woody foliage around your yard that you could use.
Step Three. Place in your daffodils. Notice, how they aren’t merely put in evenly throughout the arrangement but are rather placed in an “implied line” which moves your eye from one side of the arrangement to the other. Take care to place them facing slightly different directions so that they look less posed and more gathered. And also note that some daffodils like to nod their heads downward facing, you can gently tip them up by using the branches around them as crutches.
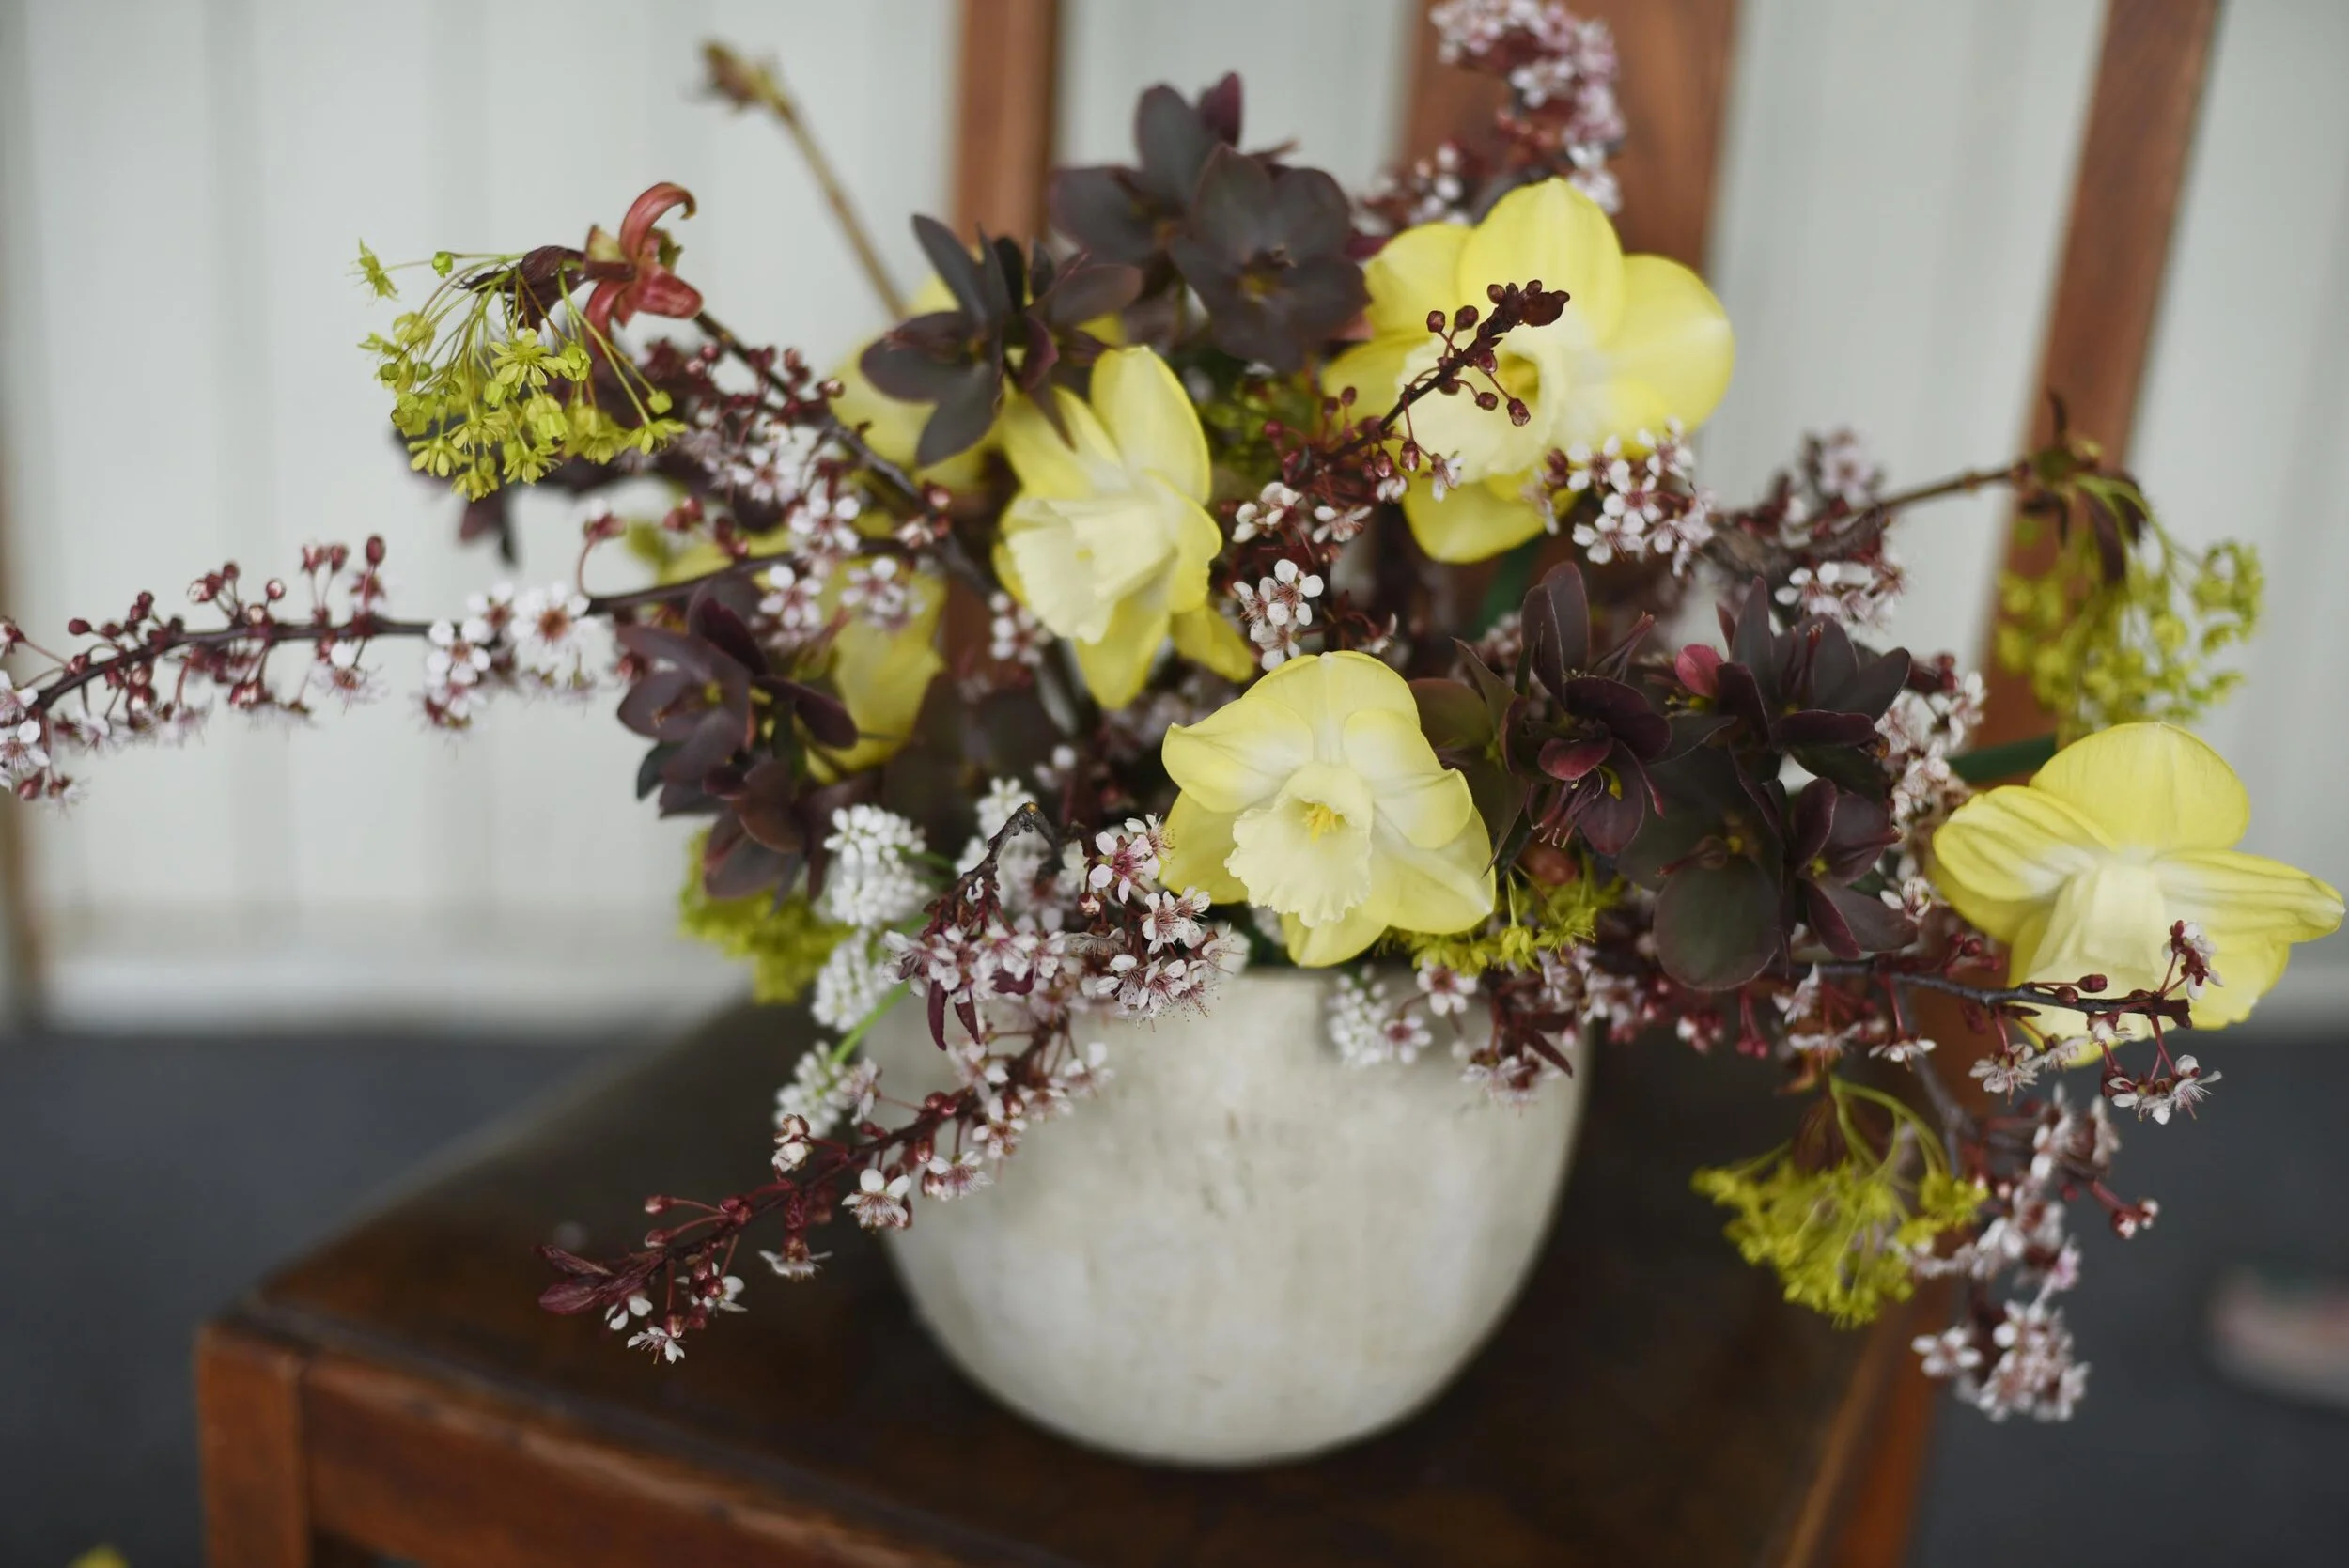
Step Four and Five. Add your hellebores into the visual “holes” between your daffodils and notice how nicely the contrast between the two creates a depth within your creation. The final touch was to tuck the muscari in down low as a “special moment”. Notice how they are added in clusters as opposed to individually; this gives them more visual weight.
If you don’t have any of the above ingredients, think of things that are in bloom that would fill the same “role.” A deep double tulip could be a great replacement for the hellebore and a bright yellow parrot tulip would work well in the role the daffodils played.
Here’s a close up look at the treasures in this bouquet. I wish you could smell those sweet little muscari through the screen!
And lastly, here’s a glimpse of her at home on my great grandmothers sewing machine. And no, I’m not eighty years old, I just like to decorate with old lady things like silver trays, haha! I hope you’ve enjoyed my first tutorial post and I would love to hear your thoughts about doing more of these in the future!


